I’m going to let you in on a simple travel secret, taking a carry-on and personal bag on a flight is the best way to reduce the pre-boarding travel time and cut down on stress. There’s nothing worse than having to get to the airport an hour earlier to make sure you have enough time to get through the bag check. Who wants to be stuck in yet another long line? You can avoid the lines to check your bags AND cut out the wait time to pick up your bags completely by taking carry ons. This also gives you a head start over all the other passengers when you’re heading to the cab stand or through customs. It’s a great feeling to get in and out quickly while others are standing around waiting. Plus, you eliminate any worries about accidentally lost luggage.
The key to traveling only with carry ons is to ensure you have the right bags, not all luggage is created the same and if you have to carry it through the airport, you want the easiest and most convenient option possible. Also, it’s important to know how to pack efficiently – yes, there’s a right and wrong way to put things in your bags. Plus, you need to be sure you’re prepared to stay within the travel guidelines of where you’re coming from and where you’re heading to; otherwise you can find yourself wasting time at security screenings or even worse having to toss things that are not permitted.
Here’s a guide on perfecting your carry on experience:
The Size is Right
Sizes of allowable carry ons vary slightly by airline, so to be safe I generally opt for a bag that’s 20″ tall and about 15″ wide. This gives me enough space for my clothes, shoes and accessories. Be sure it’s lightweight enough that you can easily lift it into the overhead compartment. My current carry on only has space to pack inside the bag, so I can maximize the space for additional items, like the power cord and air tube for my CPAP machine plus a hair dryer, straightener and curling iron. If you know you’re a lighter packer than this and can spare the space, it may be a good idea to select a bag that comes with a laptop compartment. My old suitcase had this and it was a great feature, especially for business trips.
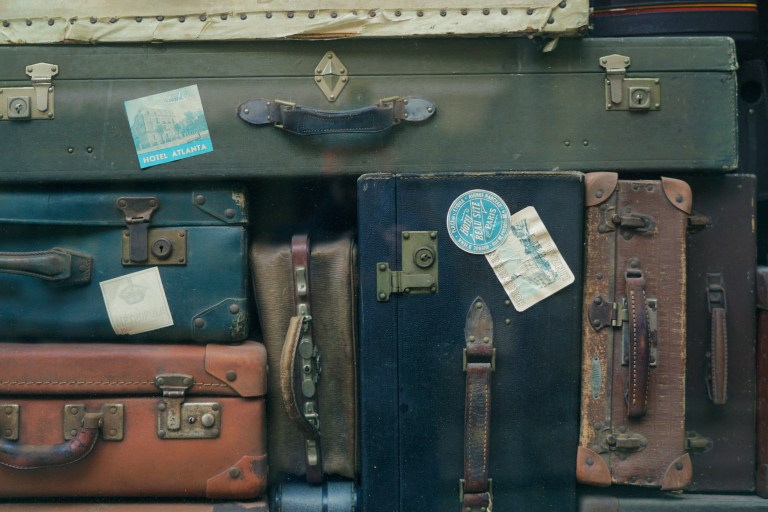
It’s Got the Look
Even though we’re talking carry ons, my rule of thumb for luggage in general is to make sure it looks distinctive, just in case you ever do check in your bag. In case you’re on a longer trip and you must bring more than one piece of luggage, you may end up checking your carry on bag. Generally, I like suitcases with bright colors and playful patterns, like this one from Betsy Johnson. Imagine looking at a sea of suitcases on a conveyor belt and wanting to quickly and easily spot it – with a bright, patterned suitcase, yours will be much easier to spot. I also opt for hard shell cases to protect against rain or snow in case I do check in my bags. Additionally, these help protect anything in your suitcase from getting damaged, whether in they’re checked in or stored in the overhead compartment.
Go Go Go!
Most importantly, look for a carry on suitcase that has wheels that roll in all directions. This may not seem like an important feature at first, but when you have to pull or push your suitcase through the terminal, onto the plane, into your transportation and into your lodging – eventually your wrist will hurt. Suitcases that have single directional wheels require you to move the case at an angle, which means you don’t have much of an option to shift your hand position. Additionally, you have to move this type of suitcase at an angle, so it’s harder to stack your shoulder bag on your suitcase. (You’ll want to be able to do that to save your shoulders from aches.) Multi-directional wheels typically also roll more easily and you can keep your suitcase upright while pushing it forward.
The Perfect Personal Bag
In addition to your carry on suitcase, you are also allocated a personal item so long as it can fit under the seat in front of you. This personal item is not defined – it can be many different things from a purse or laptop bag to an animal carrier. In lieu of a purse, I pack a collapsible tote in my carry on to use as a purse while traveling. After years of trying alternatives, the perfect personal bag for me is a weekender that has a padded laptop pocket and that has a luggage handle sleeve. This allows me to easily slide my bag in place on the carry on handle, so I can move quickly through the airport. Additionally, I don’t have to carry the weight of the laptop on my shoulder while walking through the terminal. Because this allows me more space than a purse or a laptop case, I find this to be the most versatile solution, especially since I have to sleep with a CPAP machine.
What to Take
Depending on your size and what season it is, you may be able to to get up to a week’s worth of clothes into your carry on bag. I, however, can typically only fit about 4-5 days of clothes in a carry on in spring/summer and 3-4 days worth in the fall and winter. To help maximize space, packing a capsule wardrobe can be a huge space-saving help. What makes capsule wardrobes so great for travel? This technique allows you to have enough pieces you can mix and match over the course of a trip. Instead of individual outfits that you’d wear in one set way, with a capsule wardrobe, you’ll be able to reuse pieces over and over, wearing them in different ways by accessorizing. Keep clothes fresh by either splurging for them to be laundered at your hotel or just give them a quick spray with a travel-sized Febreeze.
To make the most of your space, instead of folding your clothes, roll all items except for pants. For pants, lie them flat on the bottom of the case allowing the legs to hang over the edge. Then, layer each pair alternating which side the legs overhang. After that, place all the folded items in the suitcase on top of the pants. When done with the folded items, fold the overhanging pants legs to cover the folded items. I typically place all clothes on one side of the suitcase and place all cords, a hair dryer, curling iron, straightening iron, makeup bag and jewelry bag on the other side. Place the heaviest items toward the bottom of the suitcase (the side that has the wheels) to make it easier to roll. Finally, I like to leave a bit of room in my suitcase when I’m heading to my destination because inevitably I go shopping while I’m traveling. By packing the extra tote bag that can double as a purse, I also give myself the option to have just a little more packing space on my return flight in case I go a little overboard on my shopping. If I do that, I just check my carry on bag and bring additional items in my tote bag. Keep in mind that if you do this, too, the return trip can be a bit more laborious because you actually have to carry the two shoulder bags, which can get pretty heavy. Plus, you have to go to pick up your carry on at baggage claim, which adds on time to your journey home.
Stay in the Clear
Last but not least, be sure to be up to date on the latest travel guidelines. As of today, the TSA requires liquids to be in containers no larger 3 oz each and you may only bring as many liquids as will fit in a one quart Ziploc bag. This might seem fairly obvious for frequent travelers, but I kid you not, the last time I was at the airport I watched a grown man shout at TSA agents about his gallon size plastic bag containing his full-sized specialty hair and skincare products. Don’t be that guy.
I found that the easiest way to make this step smooth was to purchase a reusable TSA approved clear toiletry bag from Sephora and travel containers that allow me to take the products I use on my hair and skin with me. Additionally, I like to carry one or two essential oils with me, as well, to help ward of sickness and to make my destination smell nice and homey. I got this great travel diffuser to use at my destination, which I pack in my carry on, while the oils need to fit in the clear plastic bag with the other liquids.
Also, keep in mind that you’ll need to pull out any electronics larger than a cell phone (that includes laptops, handheld games, kindles, iPads, etc.) and CPAP machines. You cannot take items with certain batteries on flights, so be sure to double check that your device will be allowed on the plane. Each electronic item has to be in its own bin as it goes through the scanner.
To help breeze through security, I keep all of these items in my personal bag so I can easily pull them out and put them back in quickly after the screening process is over. You’ll also need to remove any scarfs or jackets, as well as your shoes. My watch is a Fitbit, so I don’t have to remove it – but for regular metal watches and belts you will need to remove them.
Up Up and Away
So now you are all set to go smoothly through your next airport adventure. Keep in mind that these tips are also great for train travel. You’ll be able to zip in and out of the terminal and avoid so many of the typical stresses that the other passengers will be facing. While they are encountering those travel nightmares, you can be sitting at the bar sipping a nice glass of Merlot waiting calmly for your flight or train.
